Bird photography is an exciting and challenging hobby that requires patience, precision, and the right equipment. The Canon EOS R7, with its impressive features designed for wildlife photography, offers enthusiasts the perfect tool to capture stunning avian images. This detailed guide explores best practices for bird photography using the Canon R7, helping you take full advantage of this powerful camera.
Understanding Your Canon EOS R7
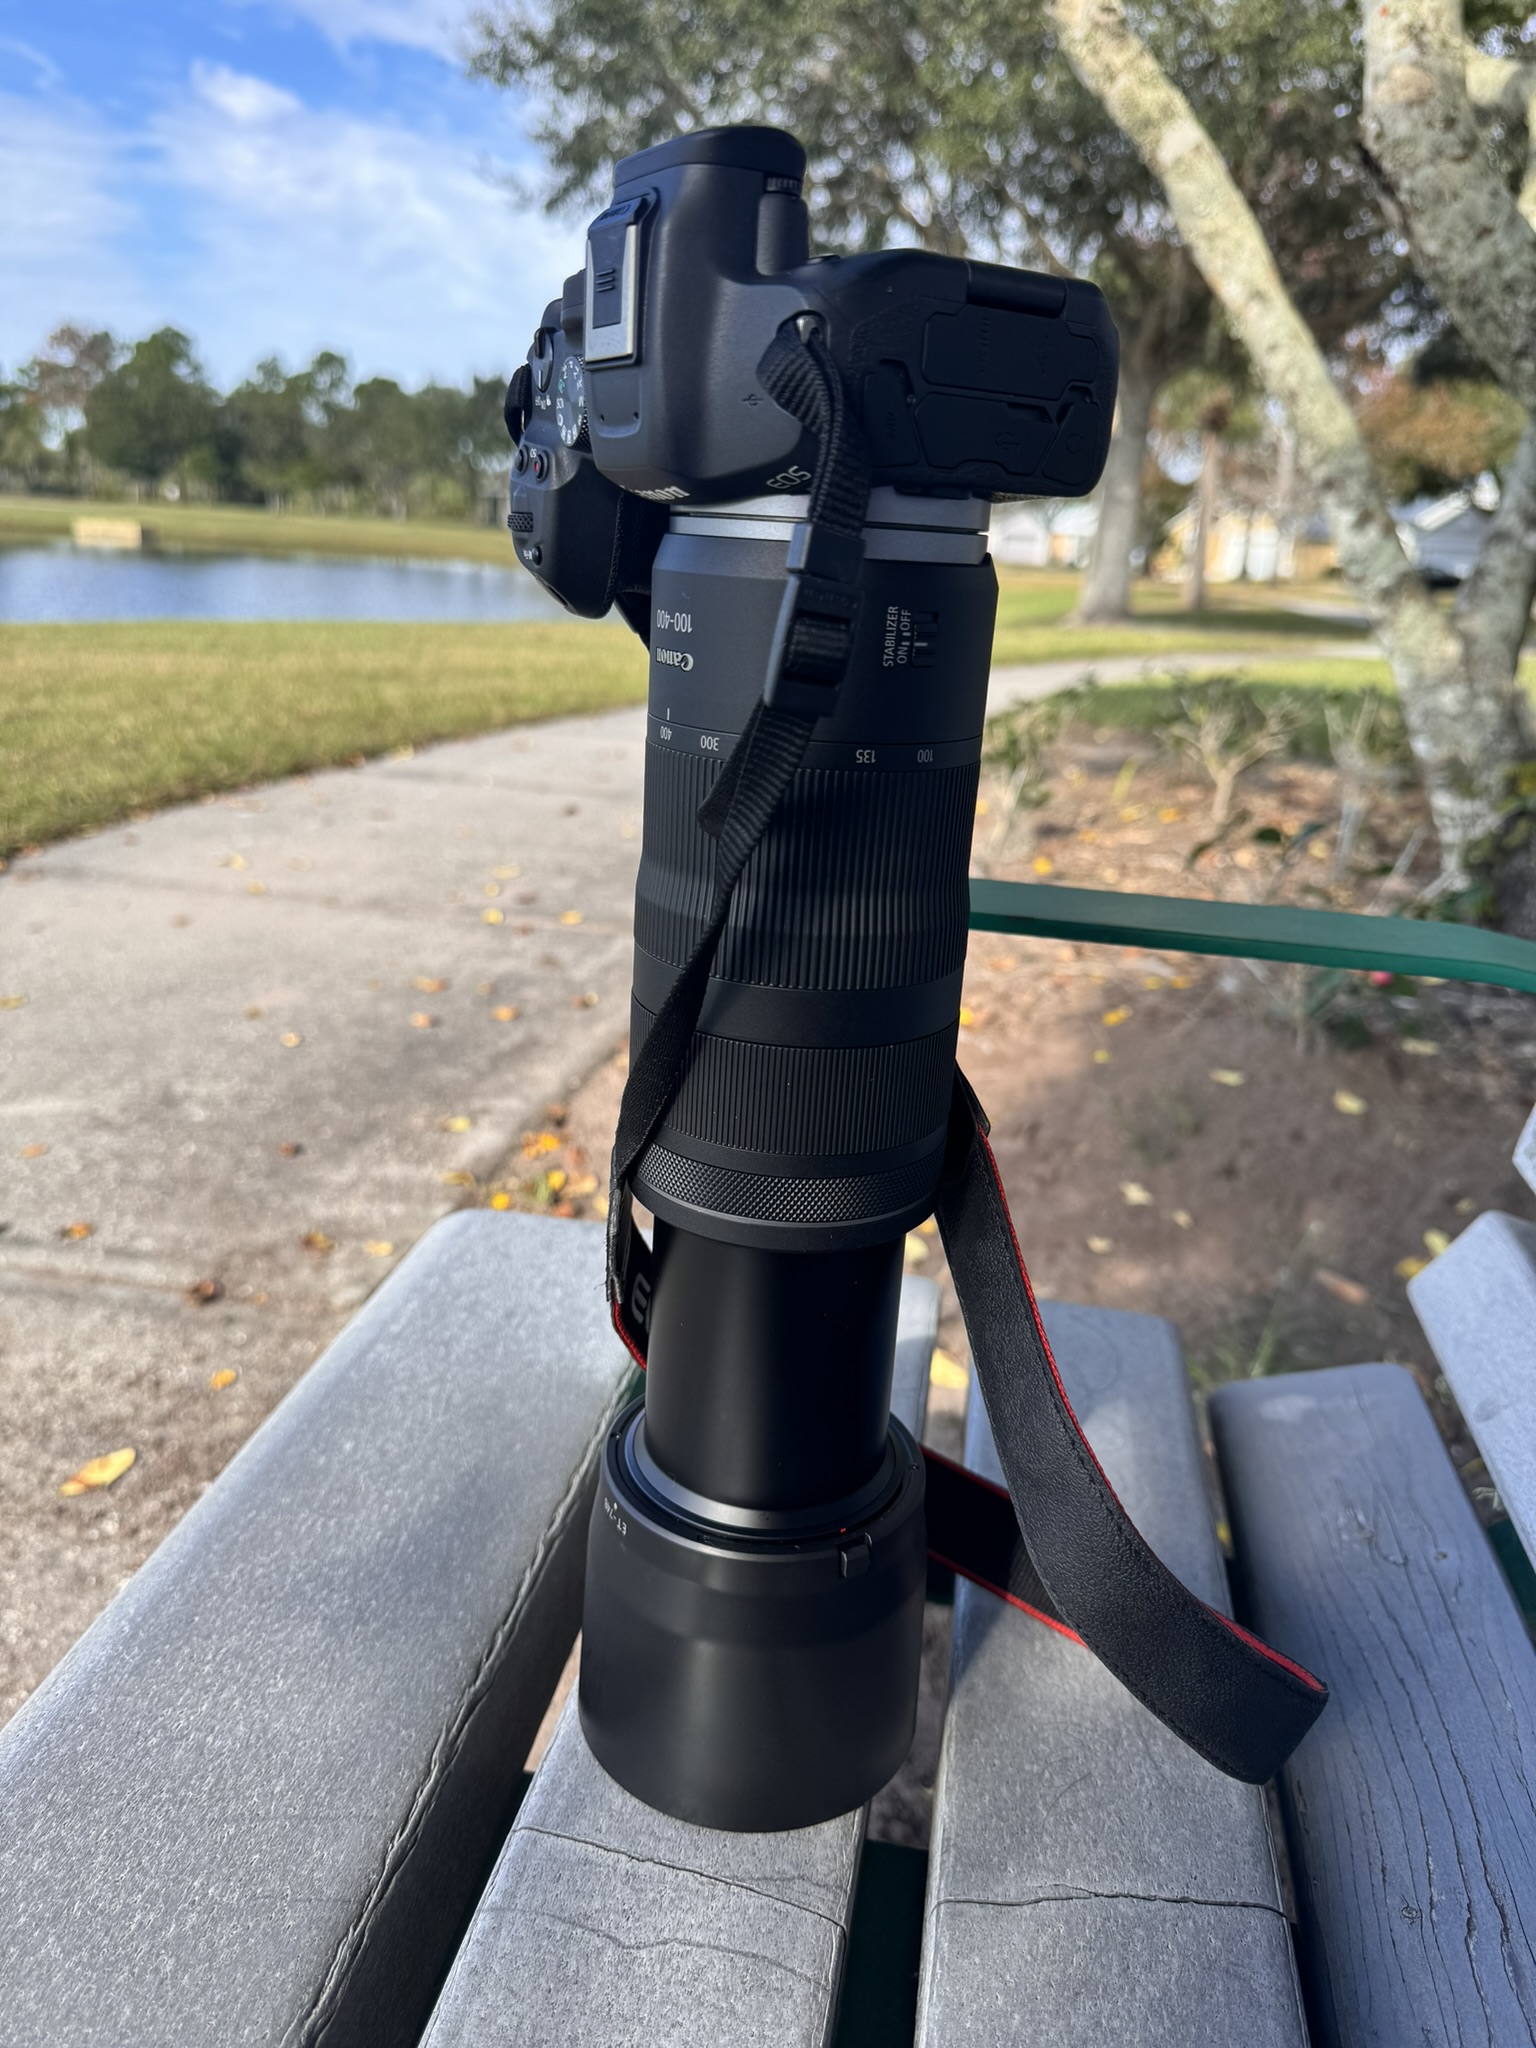
Before diving into the field, it’s crucial to familiarize yourself with the Canon R7’s capabilities. The camera boasts a 32.5MP APS-C CMOS sensor, which provides a significant crop factor, enhancing the effective reach of telephoto lenses – a major advantage for bird photography. The Dual Pixel CMOS AF II system covers nearly 100% of the frame, ensuring sharp focus on even the fastest-moving birds.
Key Features for Bird Photography:
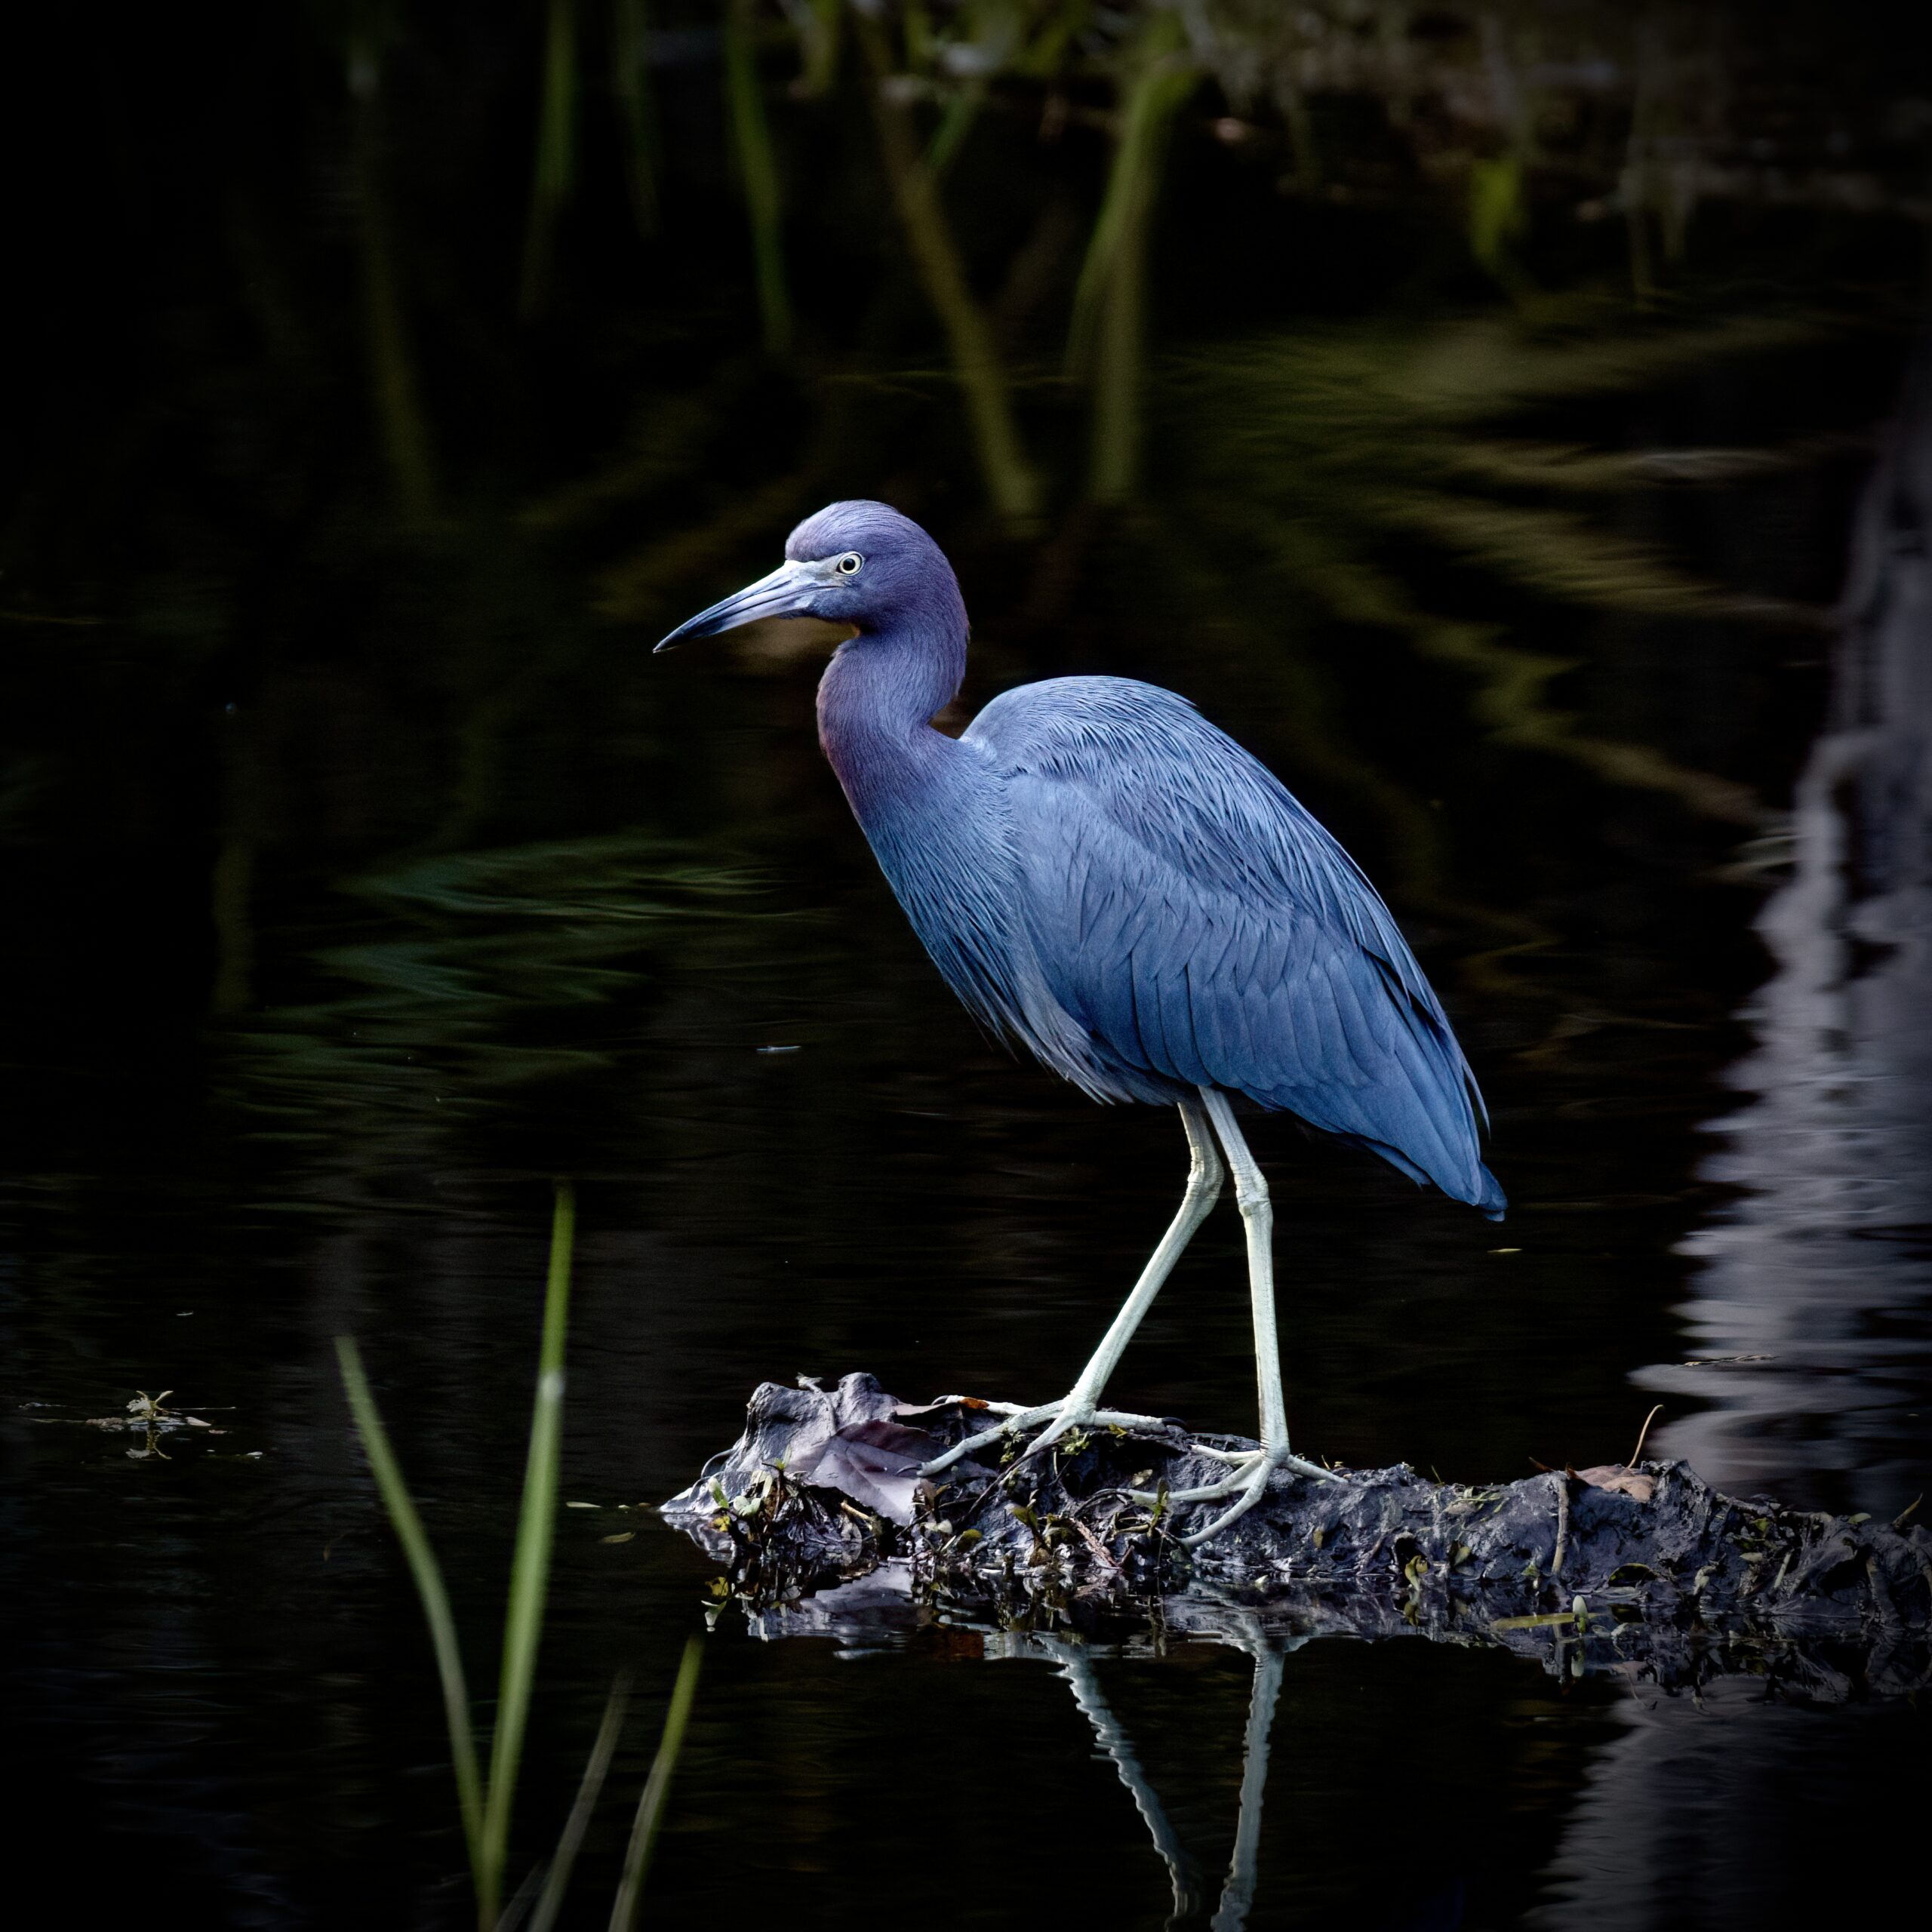
- High-speed Continuous Shooting: Up to 30 fps with an electronic shutter, ideal for capturing birds in flight.
- Animal Detection AF: This feature recognizes and tracks birds, focusing precisely on their eyes, even in complex environments.
- IBIS (In-Body Image Stabilization): Offers up to 8 stops of shake correction, crucial for handheld shooting with long lenses.
Choosing the Right Lenses
The choice of lens is as critical as the camera itself. For the Canon R7, consider lenses that offer both reach and sharpness.
Recommended Lenses:
- Canon RF 100-400mm f/5.6-8 IS USM: This lens is versatile, with a broad zoom range and excellent image stabilization, making it perfect for bird photography.
- RF-S18-150mm F3.5-6.3 IS STM: This is a compact, lightweight superzoom lens that is typically sold as the kit lens for the Canon EOS R7. It is a versatile companion for many shooting scenarios and a very good lens, specially when you consider it’s the kit lens typically sold with the R7.
Settings For Successful Bird Photography
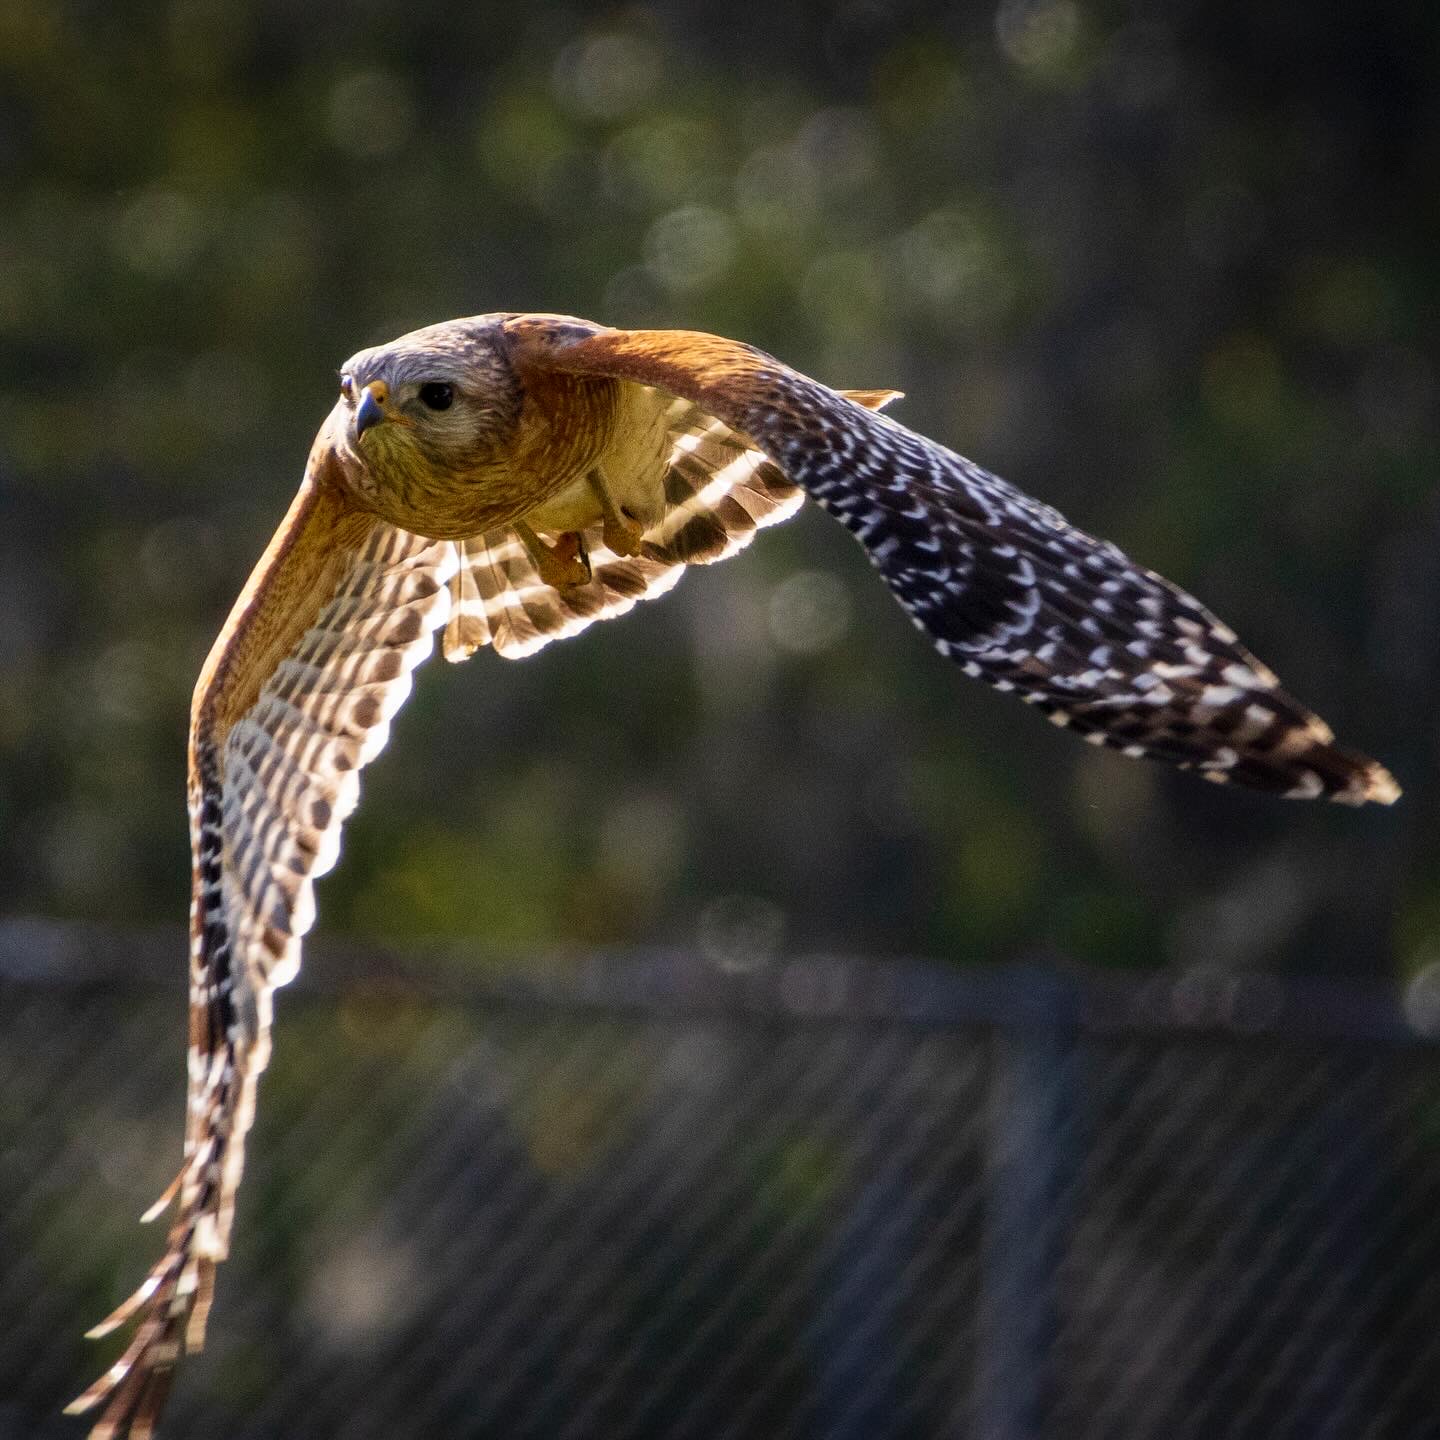
The Canon EOS R7 is a versatile camera that’s particularly well-suited for wildlife and bird photography due to its impressive autofocus system, high-speed shooting capabilities, and crop sensor that gives extra reach. Here are specific settings to optimize bird photography with the Canon EOS R7:
1. Autofocus Mode
- Mode: Use Servo AF for continuous focusing on moving subjects like birds in flight.
- AF Point Selection: Set to “Zone AF” or “Expanded AF Area” when tracking birds, as these modes offer a good balance between precision and area coverage, helping to keep the bird in focus as it moves.
2. Drive Mode
- Setting: Use High-speed Continuous Shooting mode, which allows you to capture up to 15 frames per second with the mechanical shutter and 30 fps with the electronic shutter. This is crucial for capturing birds in motion, allowing you to select the best shot from multiple frames.
3. Aperture and Shutter Speed
- Aperture: Use a wider aperture (lower f-number) to increase shutter speed and isolate the subject by blurring the background. An aperture of f/5.6 to f/8 is typically ideal, depending on the lens and lighting conditions.
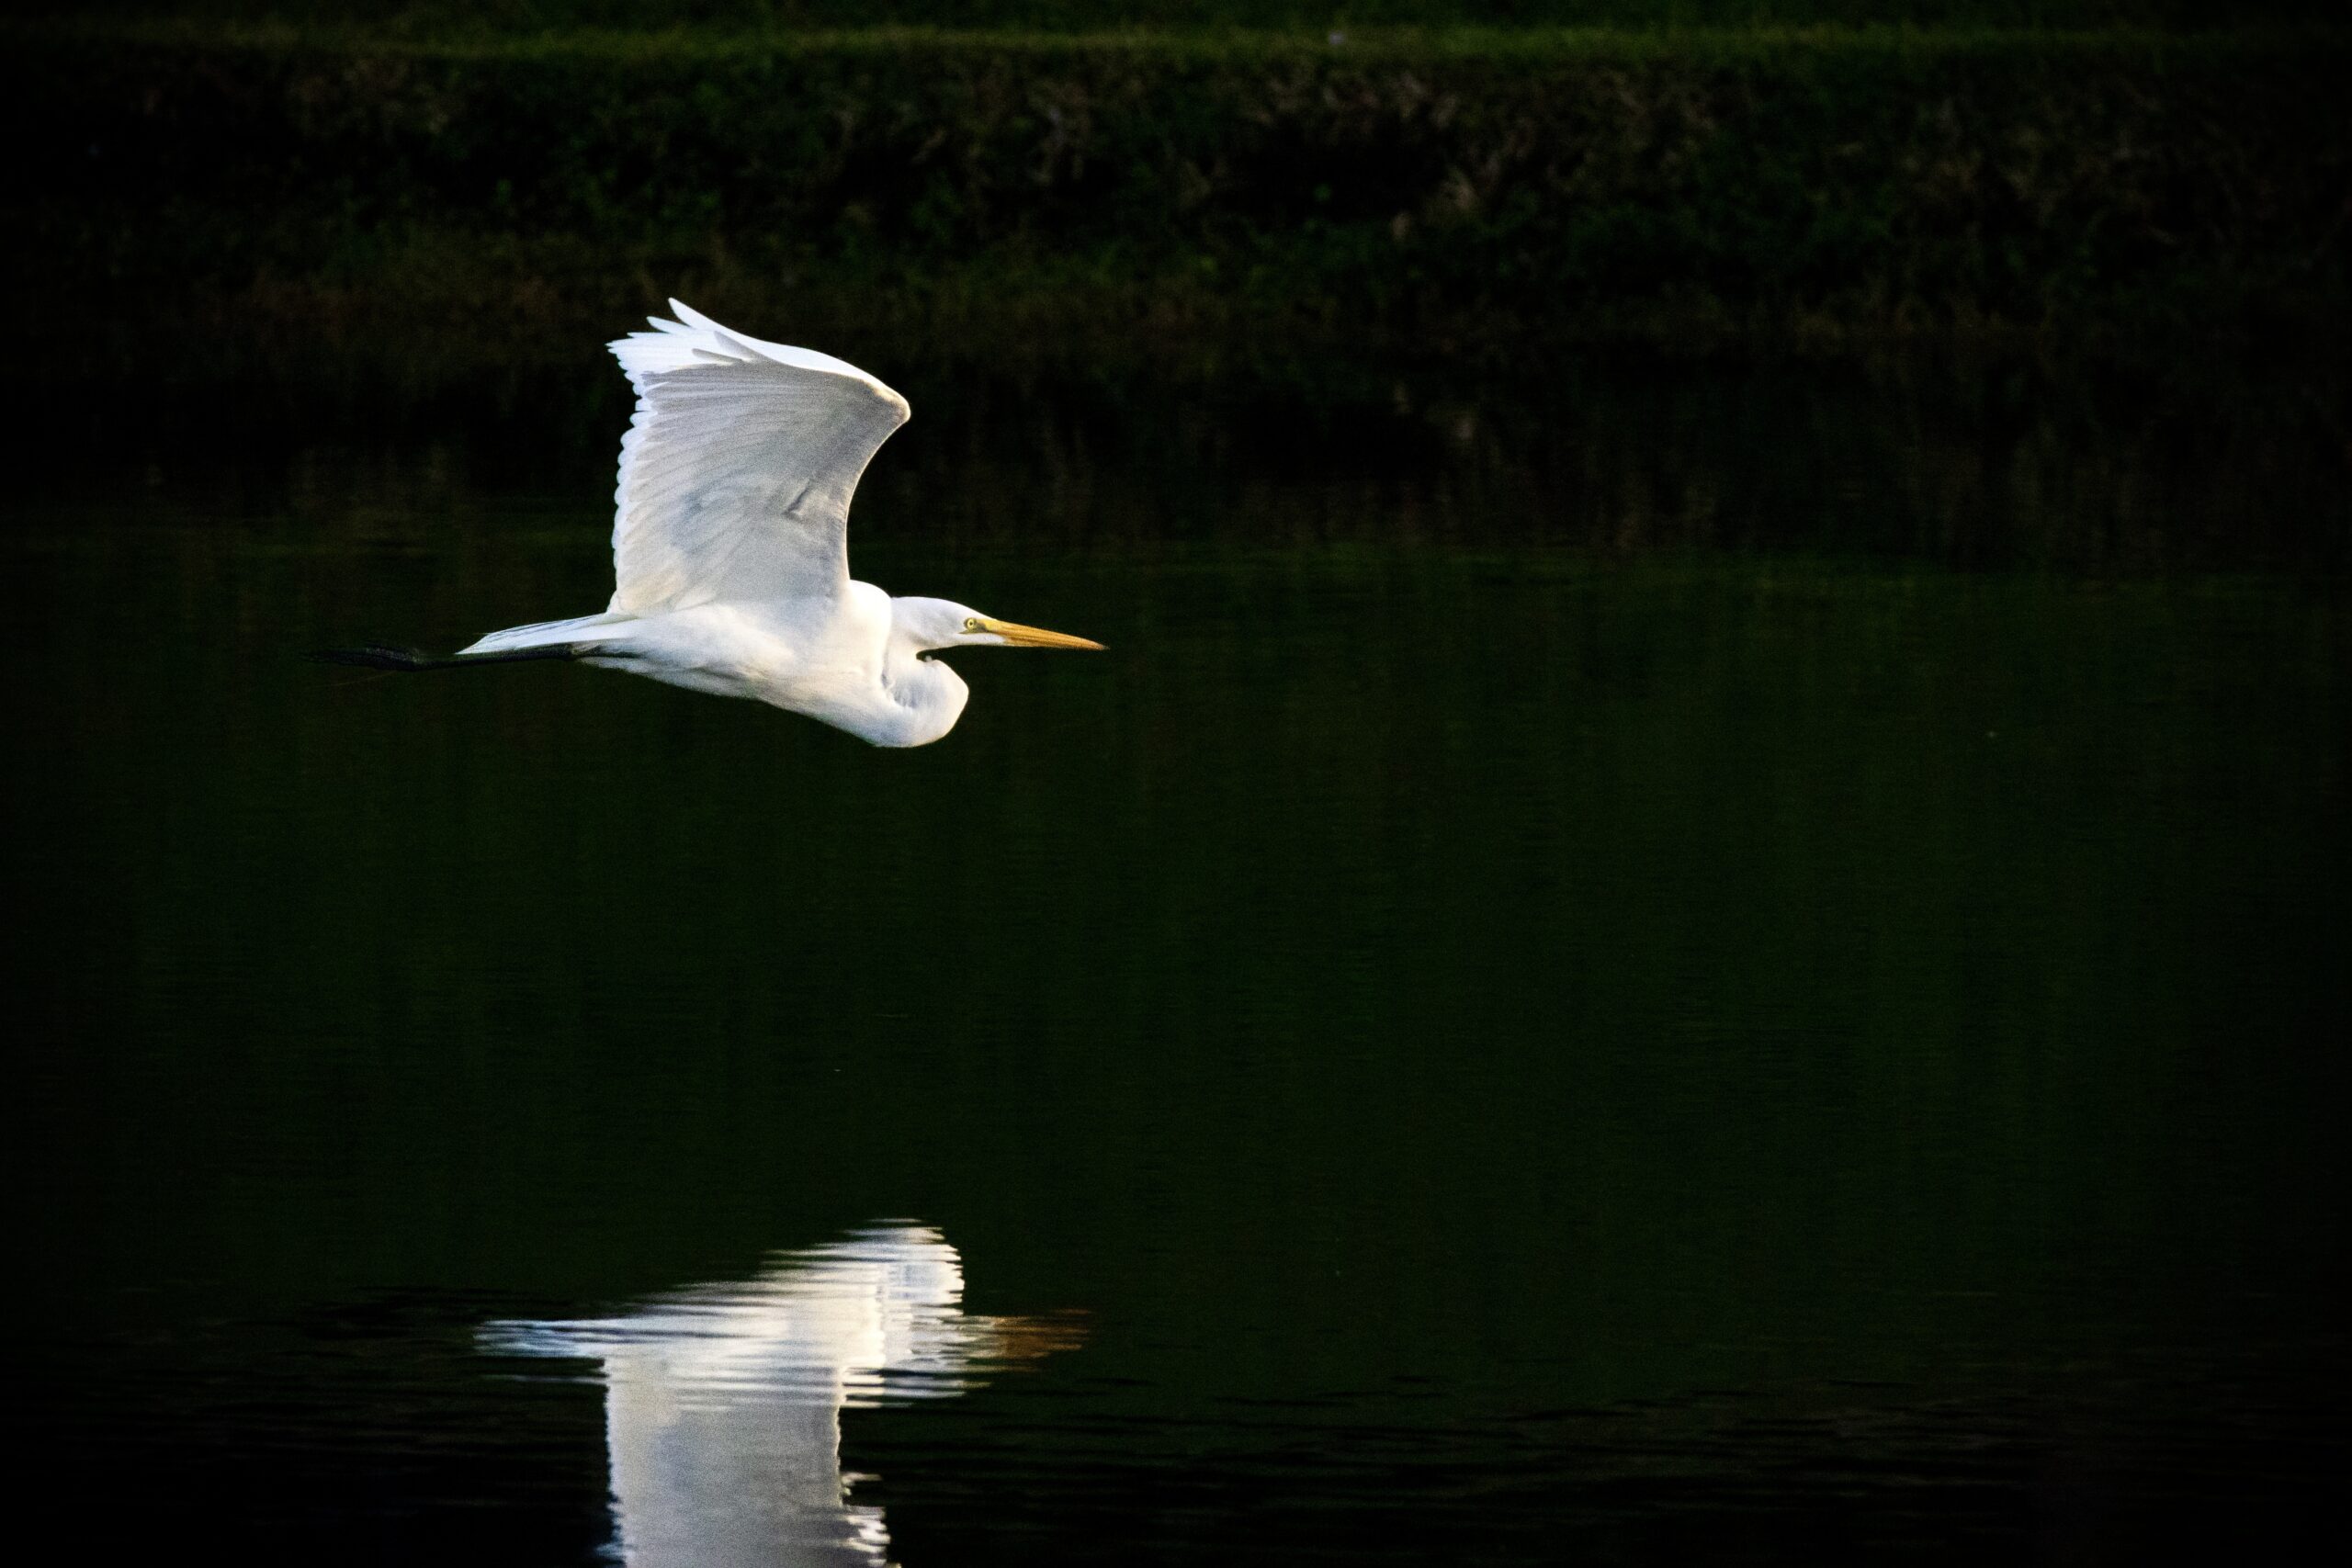
- Shutter Speed: For birds in flight or fast action, a minimum shutter speed of 1/1000th of a second is recommended. Increase to 1/2000th or faster to freeze very rapid movements.
4. ISO
- Setting: Set ISO automatically if lighting conditions are changing rapidly, ensuring your shutter speeds remain fast enough to freeze motion without having to manually adjust all the time. The R7 handles higher ISO settings well, so don’t hesitate to allow it to go up to ISO 3200 or higher if needed.
5. Metering Mode
- Mode: Spot metering can be useful when the bird is backlit or in mixed lighting conditions to avoid underexposure of the bird itself.
6. Image Stabilization
- Setting: Activate Optical Image Stabilization on your lens, if available, to help reduce camera shake, especially important when shooting at long focal lengths.
7. Exposure Compensation
- Adjustment: Dial in some exposure compensation if you’re shooting in challenging lighting. For instance, when photographing a bird against a bright sky, you might need to increase exposure to prevent the bird from becoming silhouetted.
8. White Balance
- Setting: Set white balance to auto, but be ready to adjust it manually for tricky lighting conditions to ensure natural colors, especially important in nature and wildlife photography where accurate color reproduction is crucial.
9. Shooting in RAW
- Advantage: Always shoot in RAW format to ensure you capture the most data possible from each image, providing greater flexibility when editing exposure, balance, and colors in post-processing.
These settings will help you make the most of the Canon EOS R7’s capabilities for bird photography, providing both the flexibility needed for rapidly changing conditions and the precision required for capturing sharp, detailed images of birds in various environments.
Recommended Settings:
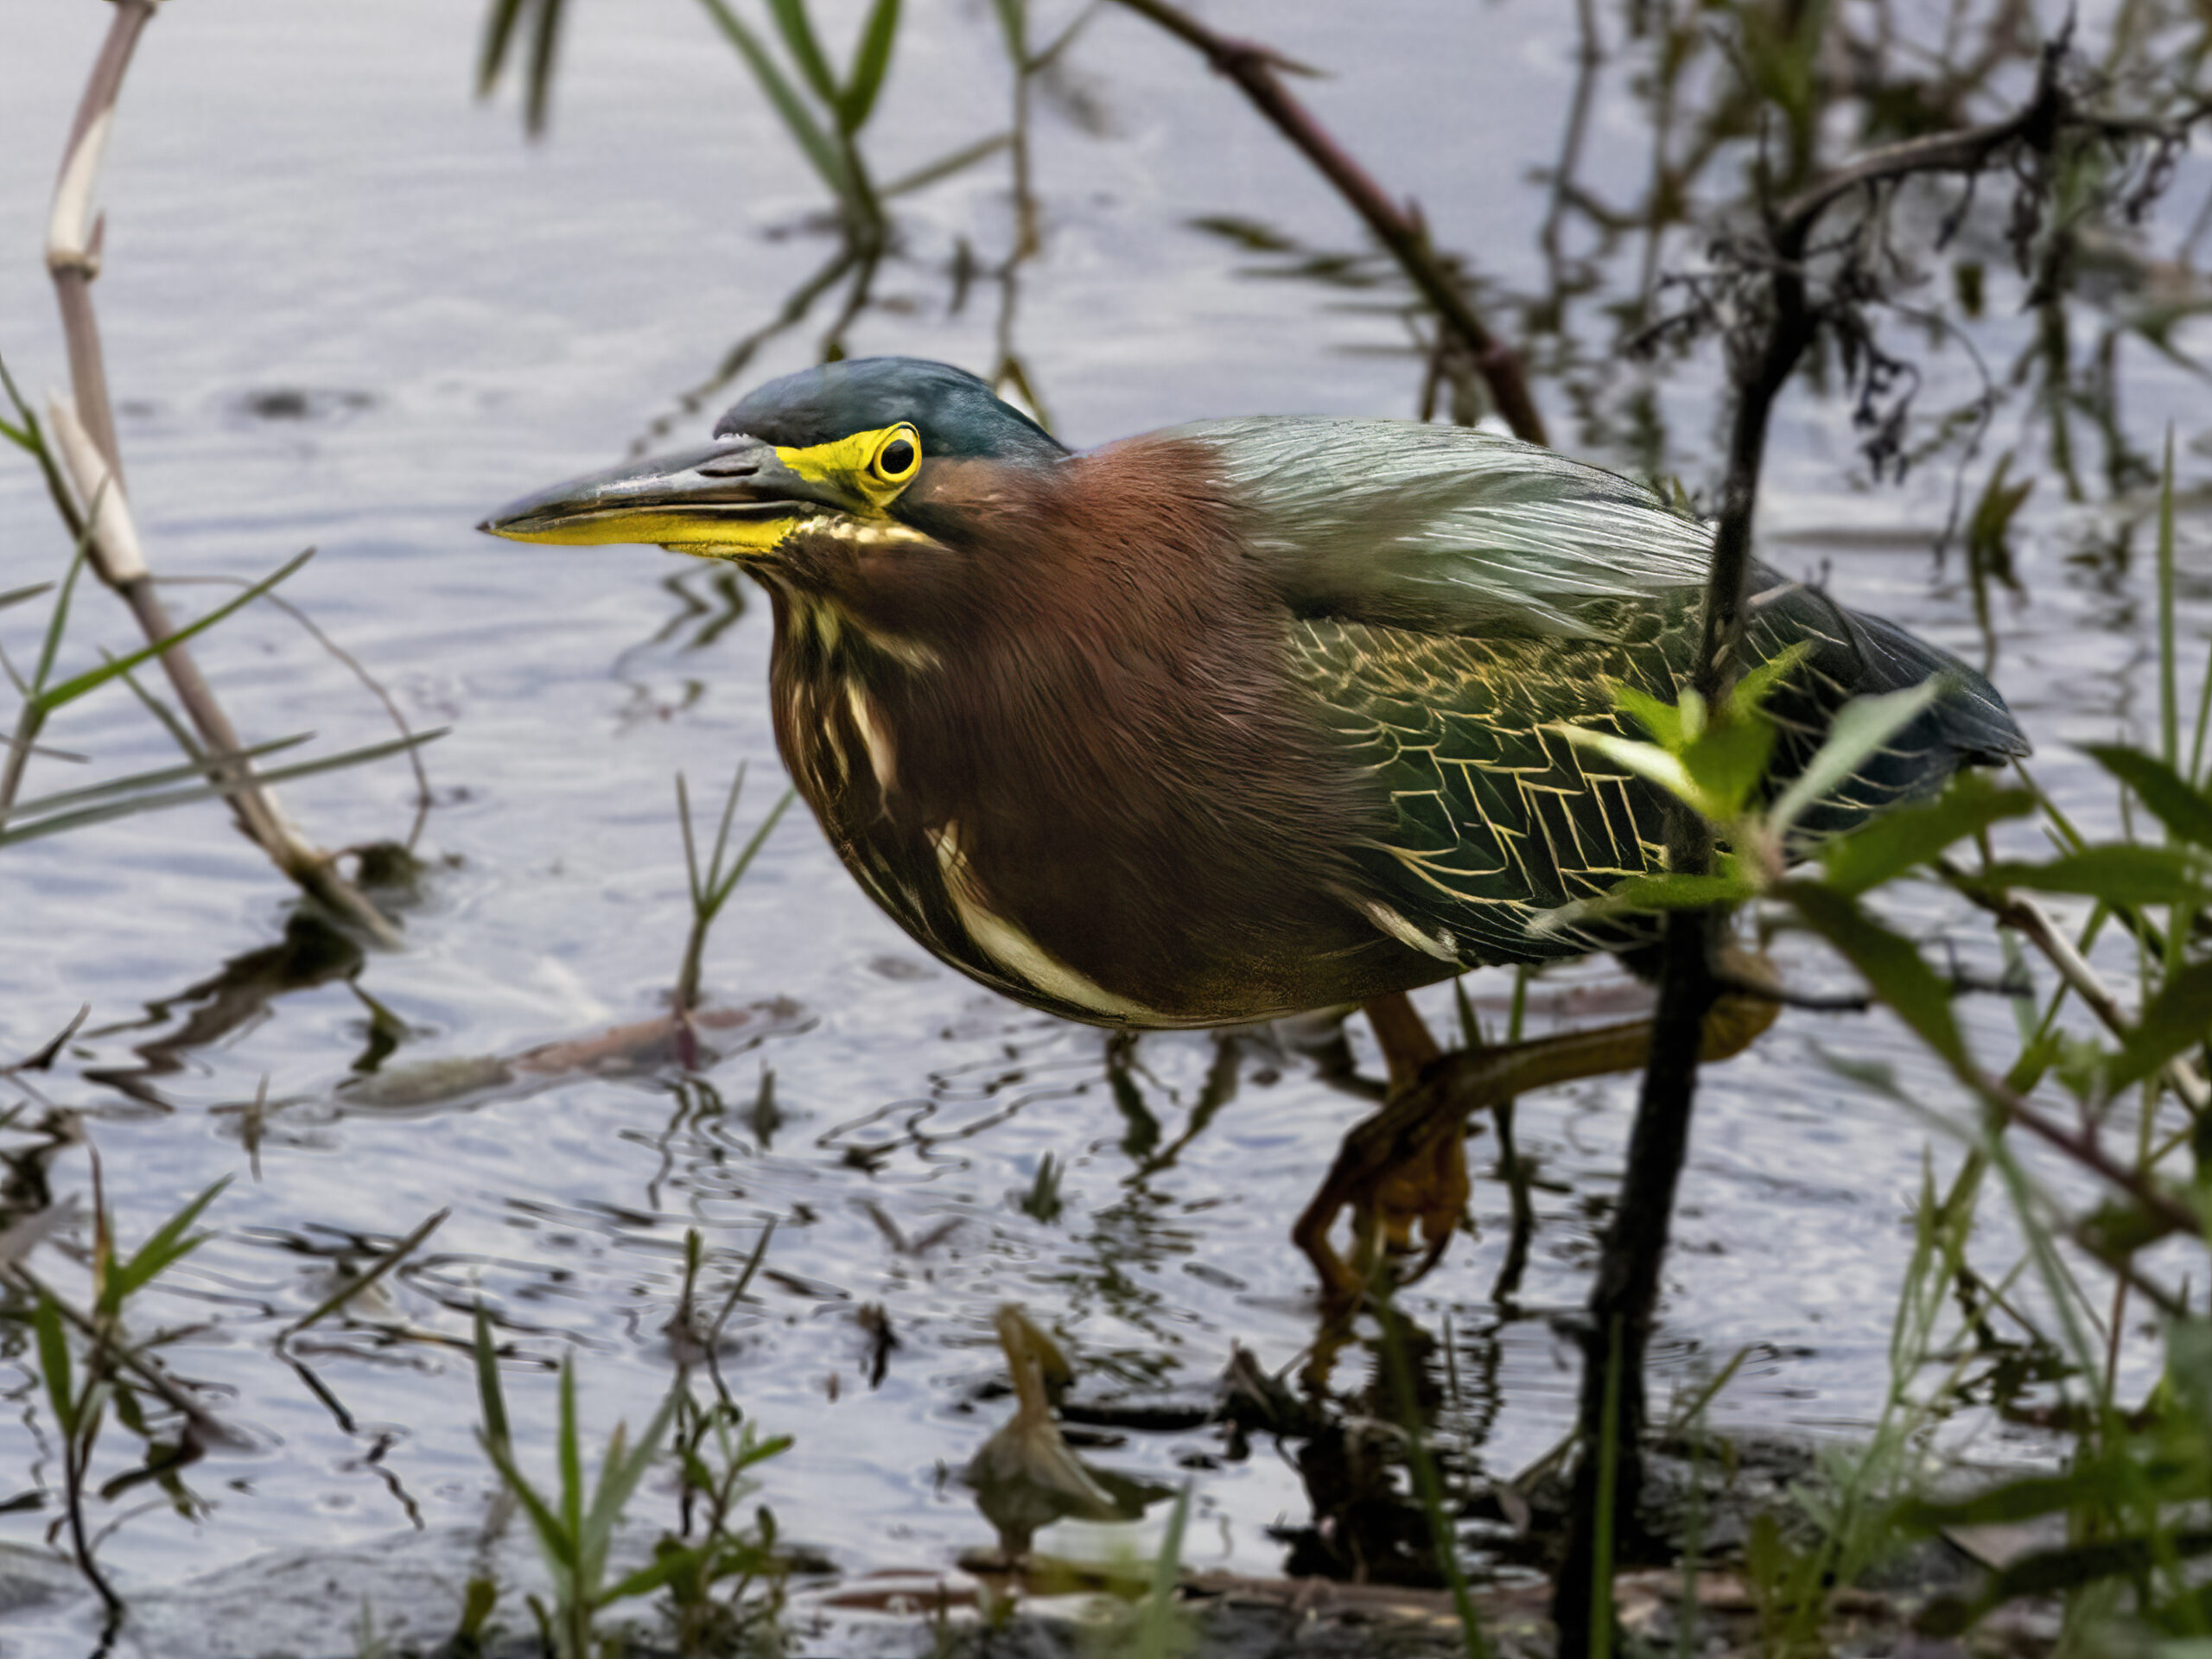
- Shooting Mode: Use Manual (M) mode to control both aperture and shutter speed. For birds in flight, Shutter Priority (Tv) can be useful to ensure the shutter speed is fast enough to freeze motion.
- Aperture: A wide aperture (low f-number) helps isolate the bird from the background, creating a pleasing bokeh. Adjust based on lighting conditions and desired depth of field.
- Shutter Speed: Minimum of 1/1000th of a second for birds in flight; faster if possible, especially in good lighting conditions.
- ISO: Set ISO as low as possible while maintaining a fast shutter speed to reduce noise.
- Focus Mode: Use Continuous AF (AI Servo) to keep moving subjects in focus.
- Drive Mode: High-speed continuous shooting is essential to capture multiple frames per second.
Techniques for Capturing Birds in Action
Effective bird photography goes beyond technical settings; your approach and technique are equally important.
Best Practices:
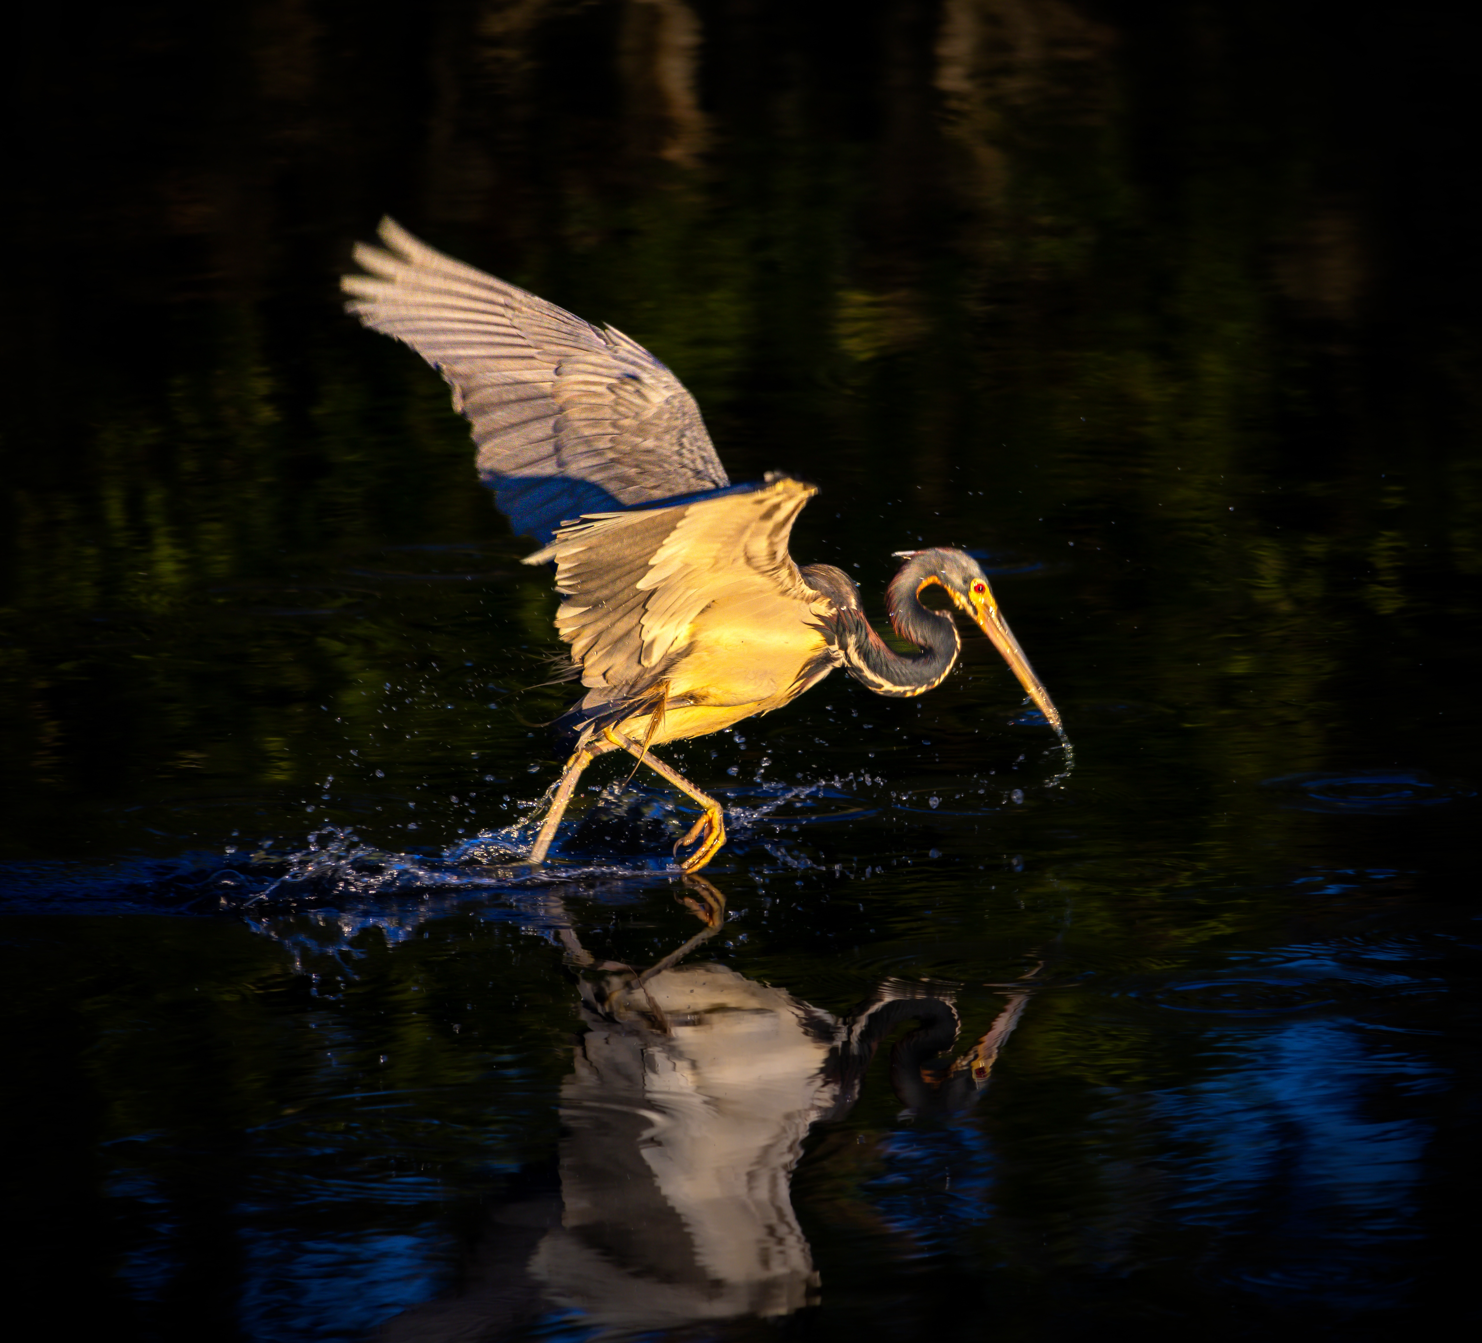
- Early Morning or Late Afternoon: These times offer the best light for photography and are when birds are most active. I love shooting in cloudy days or at dawn or golden hour.
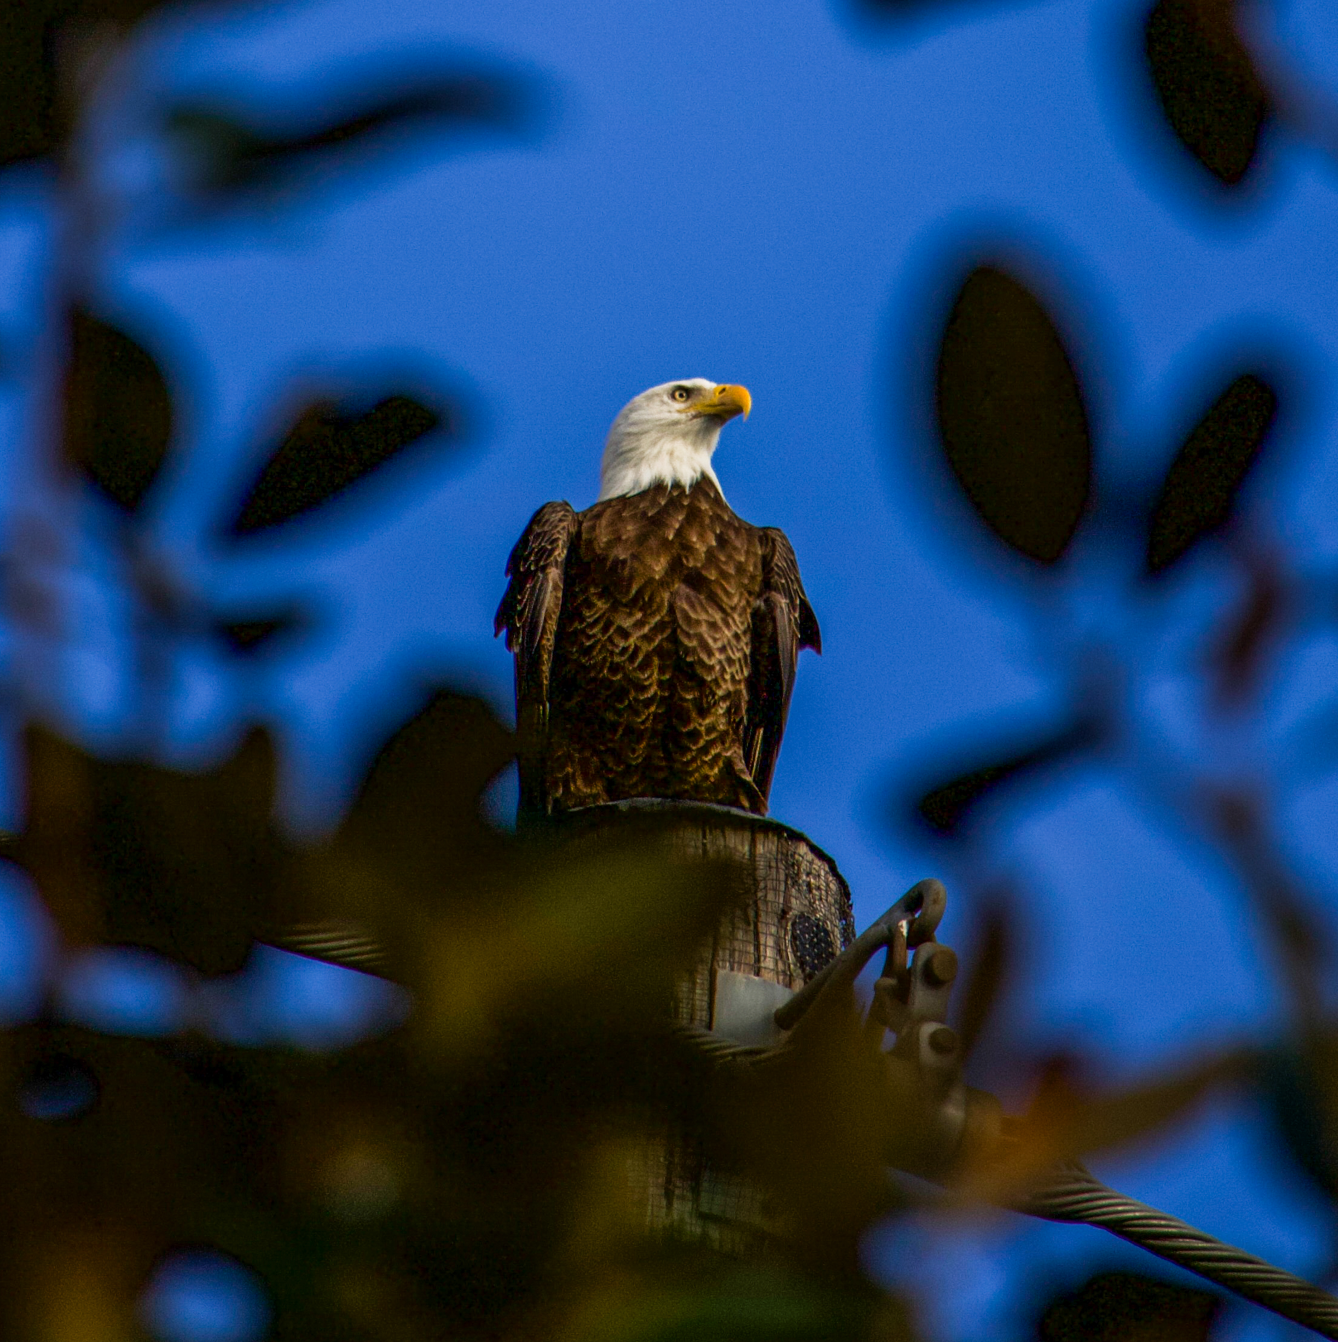
- Positioning: Position yourself with the sun at your back to ensure birds are well-lit. Use natural cover to conceal your presence. Some birds are more skittish than others. It’s best to give them their space so you can capture their natural behaviors.
- Patience and Persistence: Spend time observing bird behavior. Patience can lead to understanding patterns, which helps anticipate actions and get better shots. Some days you may not see much but when your patience is rewarded it is a great feeling. Sometimes you go out looking for a specific bird and end up seeing and capturing something completely unexpected.
- Steady Handholding or Tripod: For longer lenses, a tripod or monopod can help manage weight and stabilize your shots, although handholding provides more mobility for tracking birds in flight. I find that I am able to do more and be more flexible in unexpected quick action situations shooting handheld. You can still get very sharp images if you choose an adequate shutter speed and practice good composition and posture technique. Hold the camera with both hands, use the view finder, press your face into the camera to help steady and roll your finger over the shutter. These techniques help minimize blur and makes for sharper images.
Post-Processing Tips
After capturing your images, post-processing plays a crucial role in enhancing your photos and bringing out the details.
Lightroom Editing Tips:
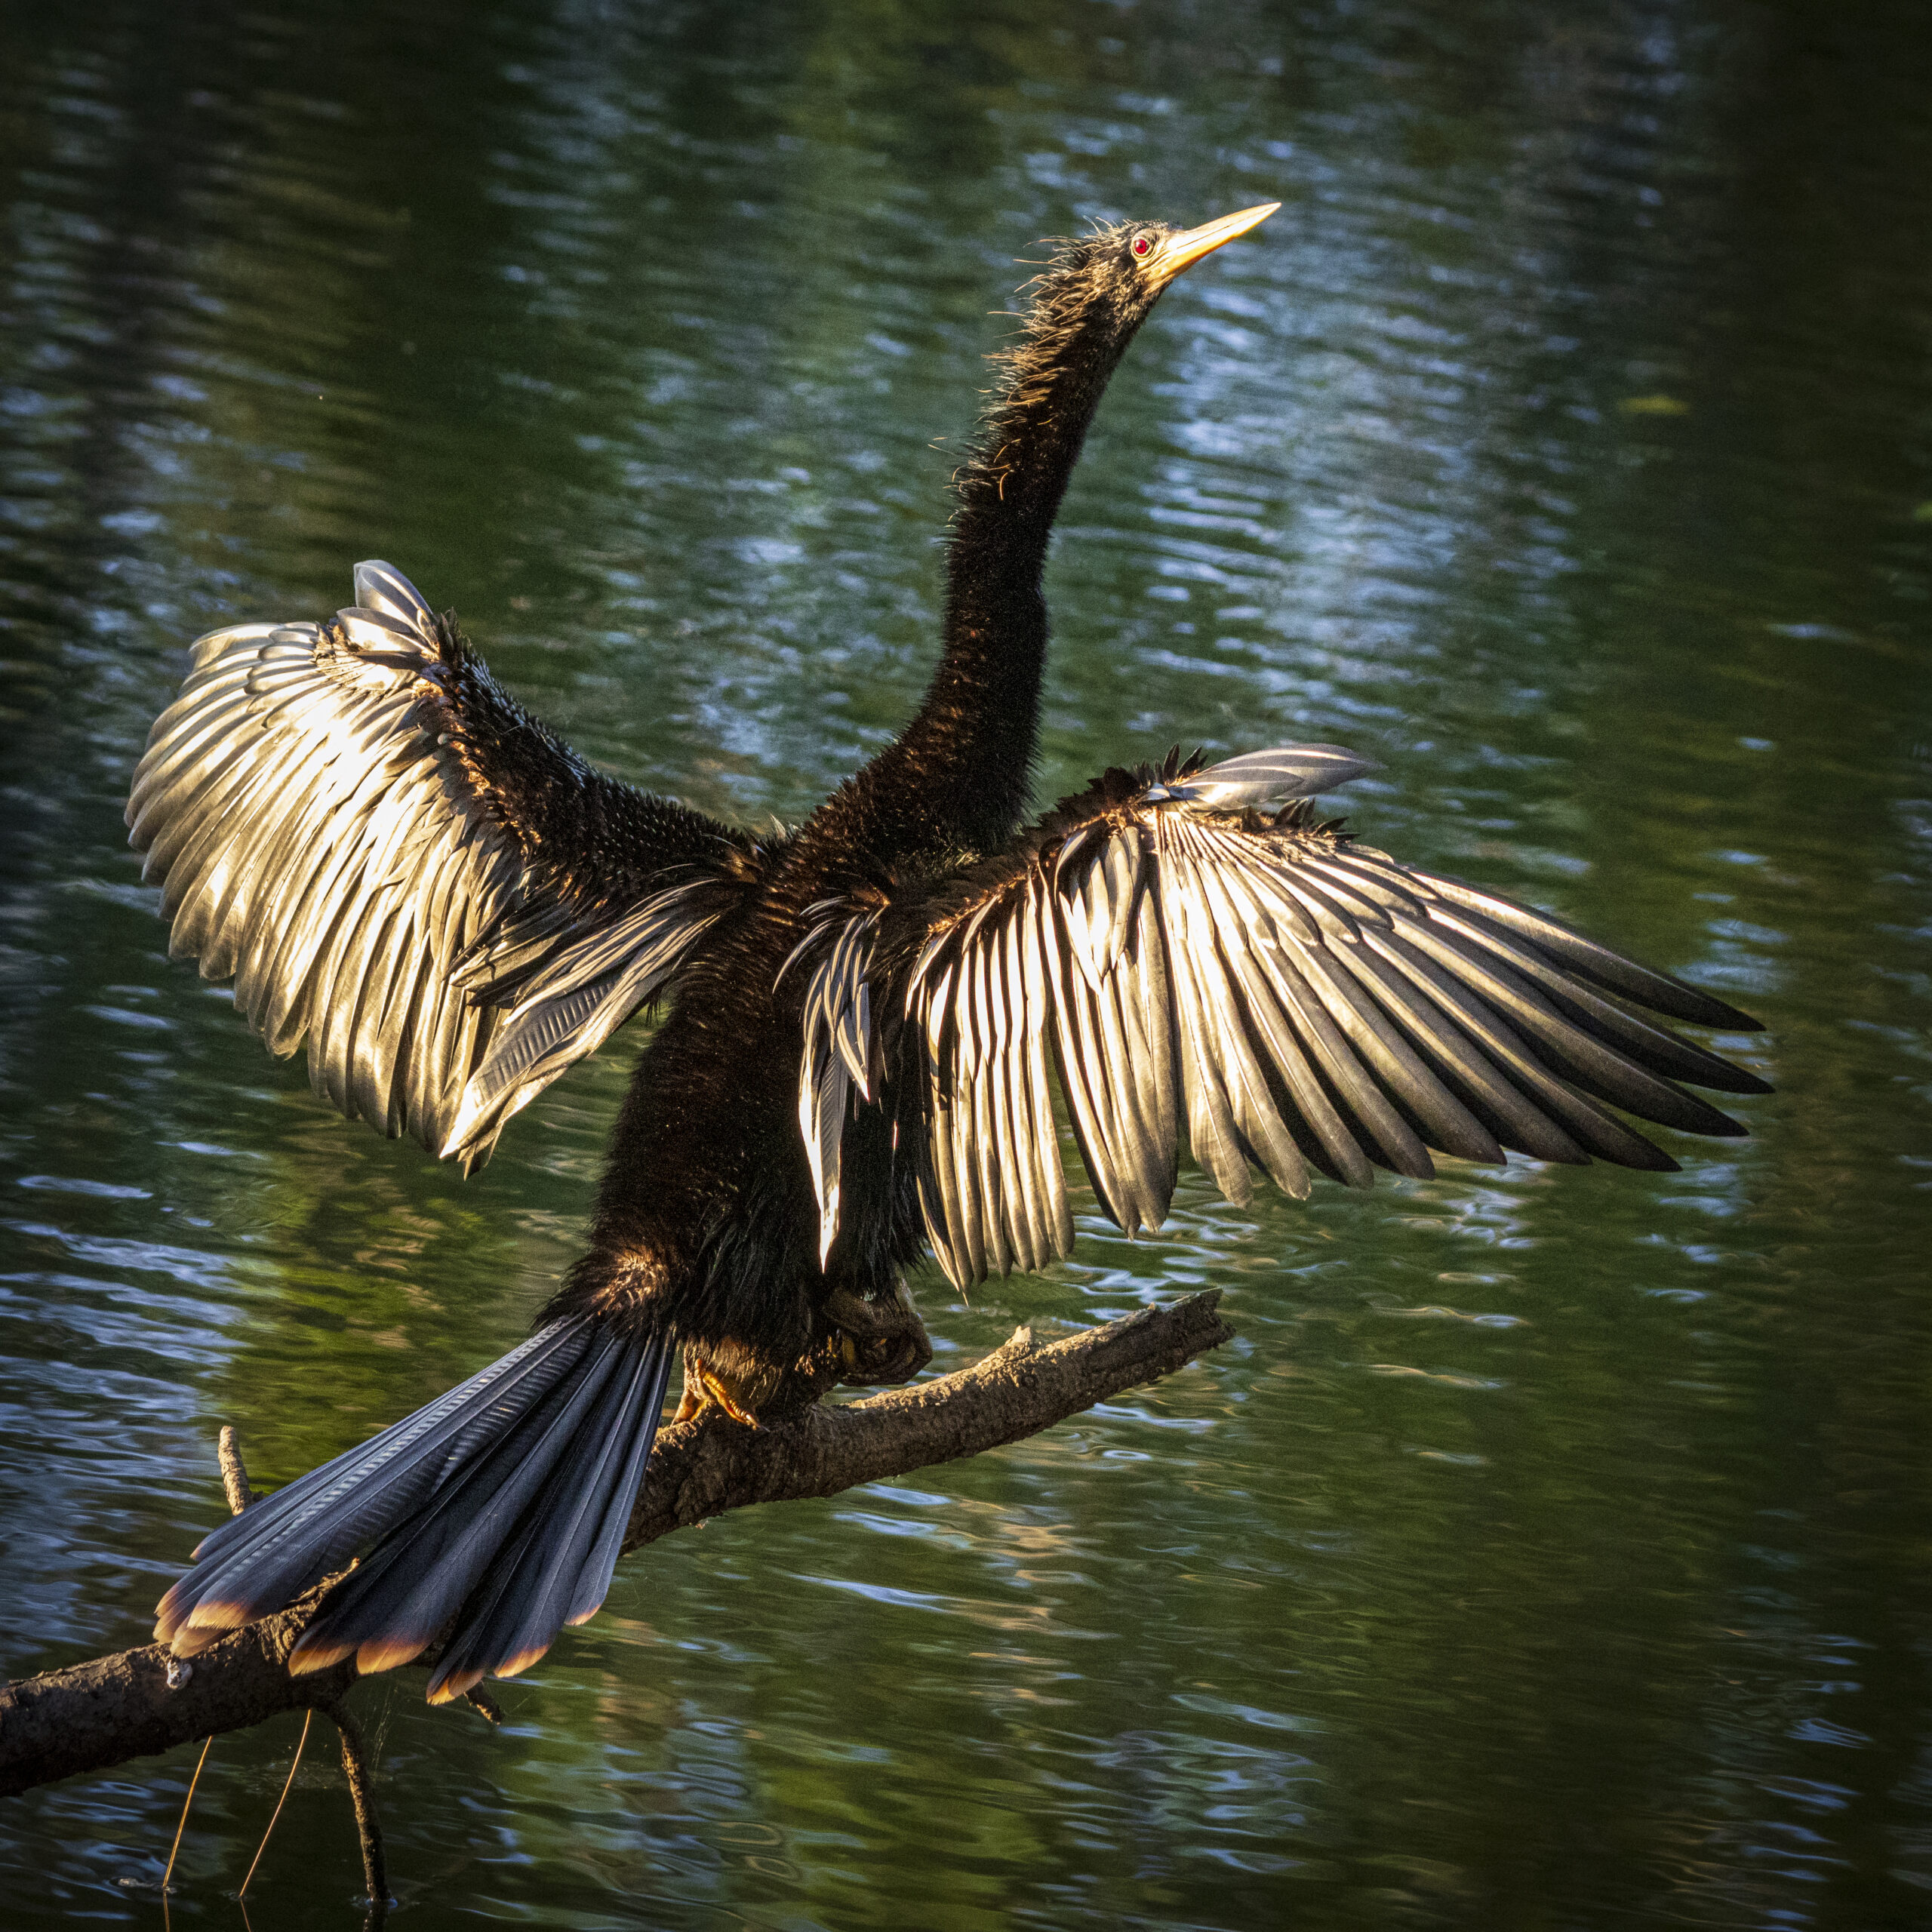
- Exposure Adjustments: Fine-tune exposure, highlights, and shadows to bring out feather details and texture. Use masking to isolate your subject and make them pop.
- Color Correction: Enhance natural colors without making the image look unnatural.
- Sharpening and Noise Reduction: Apply moderate sharpening to emphasize details and use noise reduction sparingly to avoid softening the image. There are good tools out there now for noise reduction. Lightroom offers really good noise reduction for Raw files as does Topaz denoise. Again the key here is you want to remove some noise. Understandably sometimes we have to use higher shutter speeds and hence higher ISO to compensate. We are happy with some of the natural noise in our images as with that noise also comes detail. If we apply noise reduction we want to do so tastefully without loosing our detail.
Field Etiquette and Conservation
As a bird photographer, it’s important to practice ethical photography to ensure the welfare of the wildlife you’re capturing.
Ethical Practices:
- Keep a Respectful Distance: Avoid disturbing birds by keeping a safe distance. Use your lens’s reach rather than approaching too close.
- Respect the Habitat: Stay on marked trails and avoid trampling vegetation.
- Avoid Baiting: Do not use food to attract birds, as this can alter natural behaviors and potentially harm their health.
Conclusion
Bird photography with the Canon EOS R7 can be incredibly rewarding, offering the opportunity to capture the beauty and intricacy of avian life. By understanding your equipment, selecting the right settings, using good camera handling and photo composition technique you can achieve amazing results. Remember as with anything you want to get good at photography takes a lot of practice. In that practice you gain the experience to be able to set your settings, and perform the necessary steps on the fly and get the shot.
